> ## Documentation Index
> Fetch the complete documentation index at: https://docs.mailpigeon.app/llms.txt
> Use this file to discover all available pages before exploring further.
# Setting Up
> Create a new project and start collecting forms in minutes
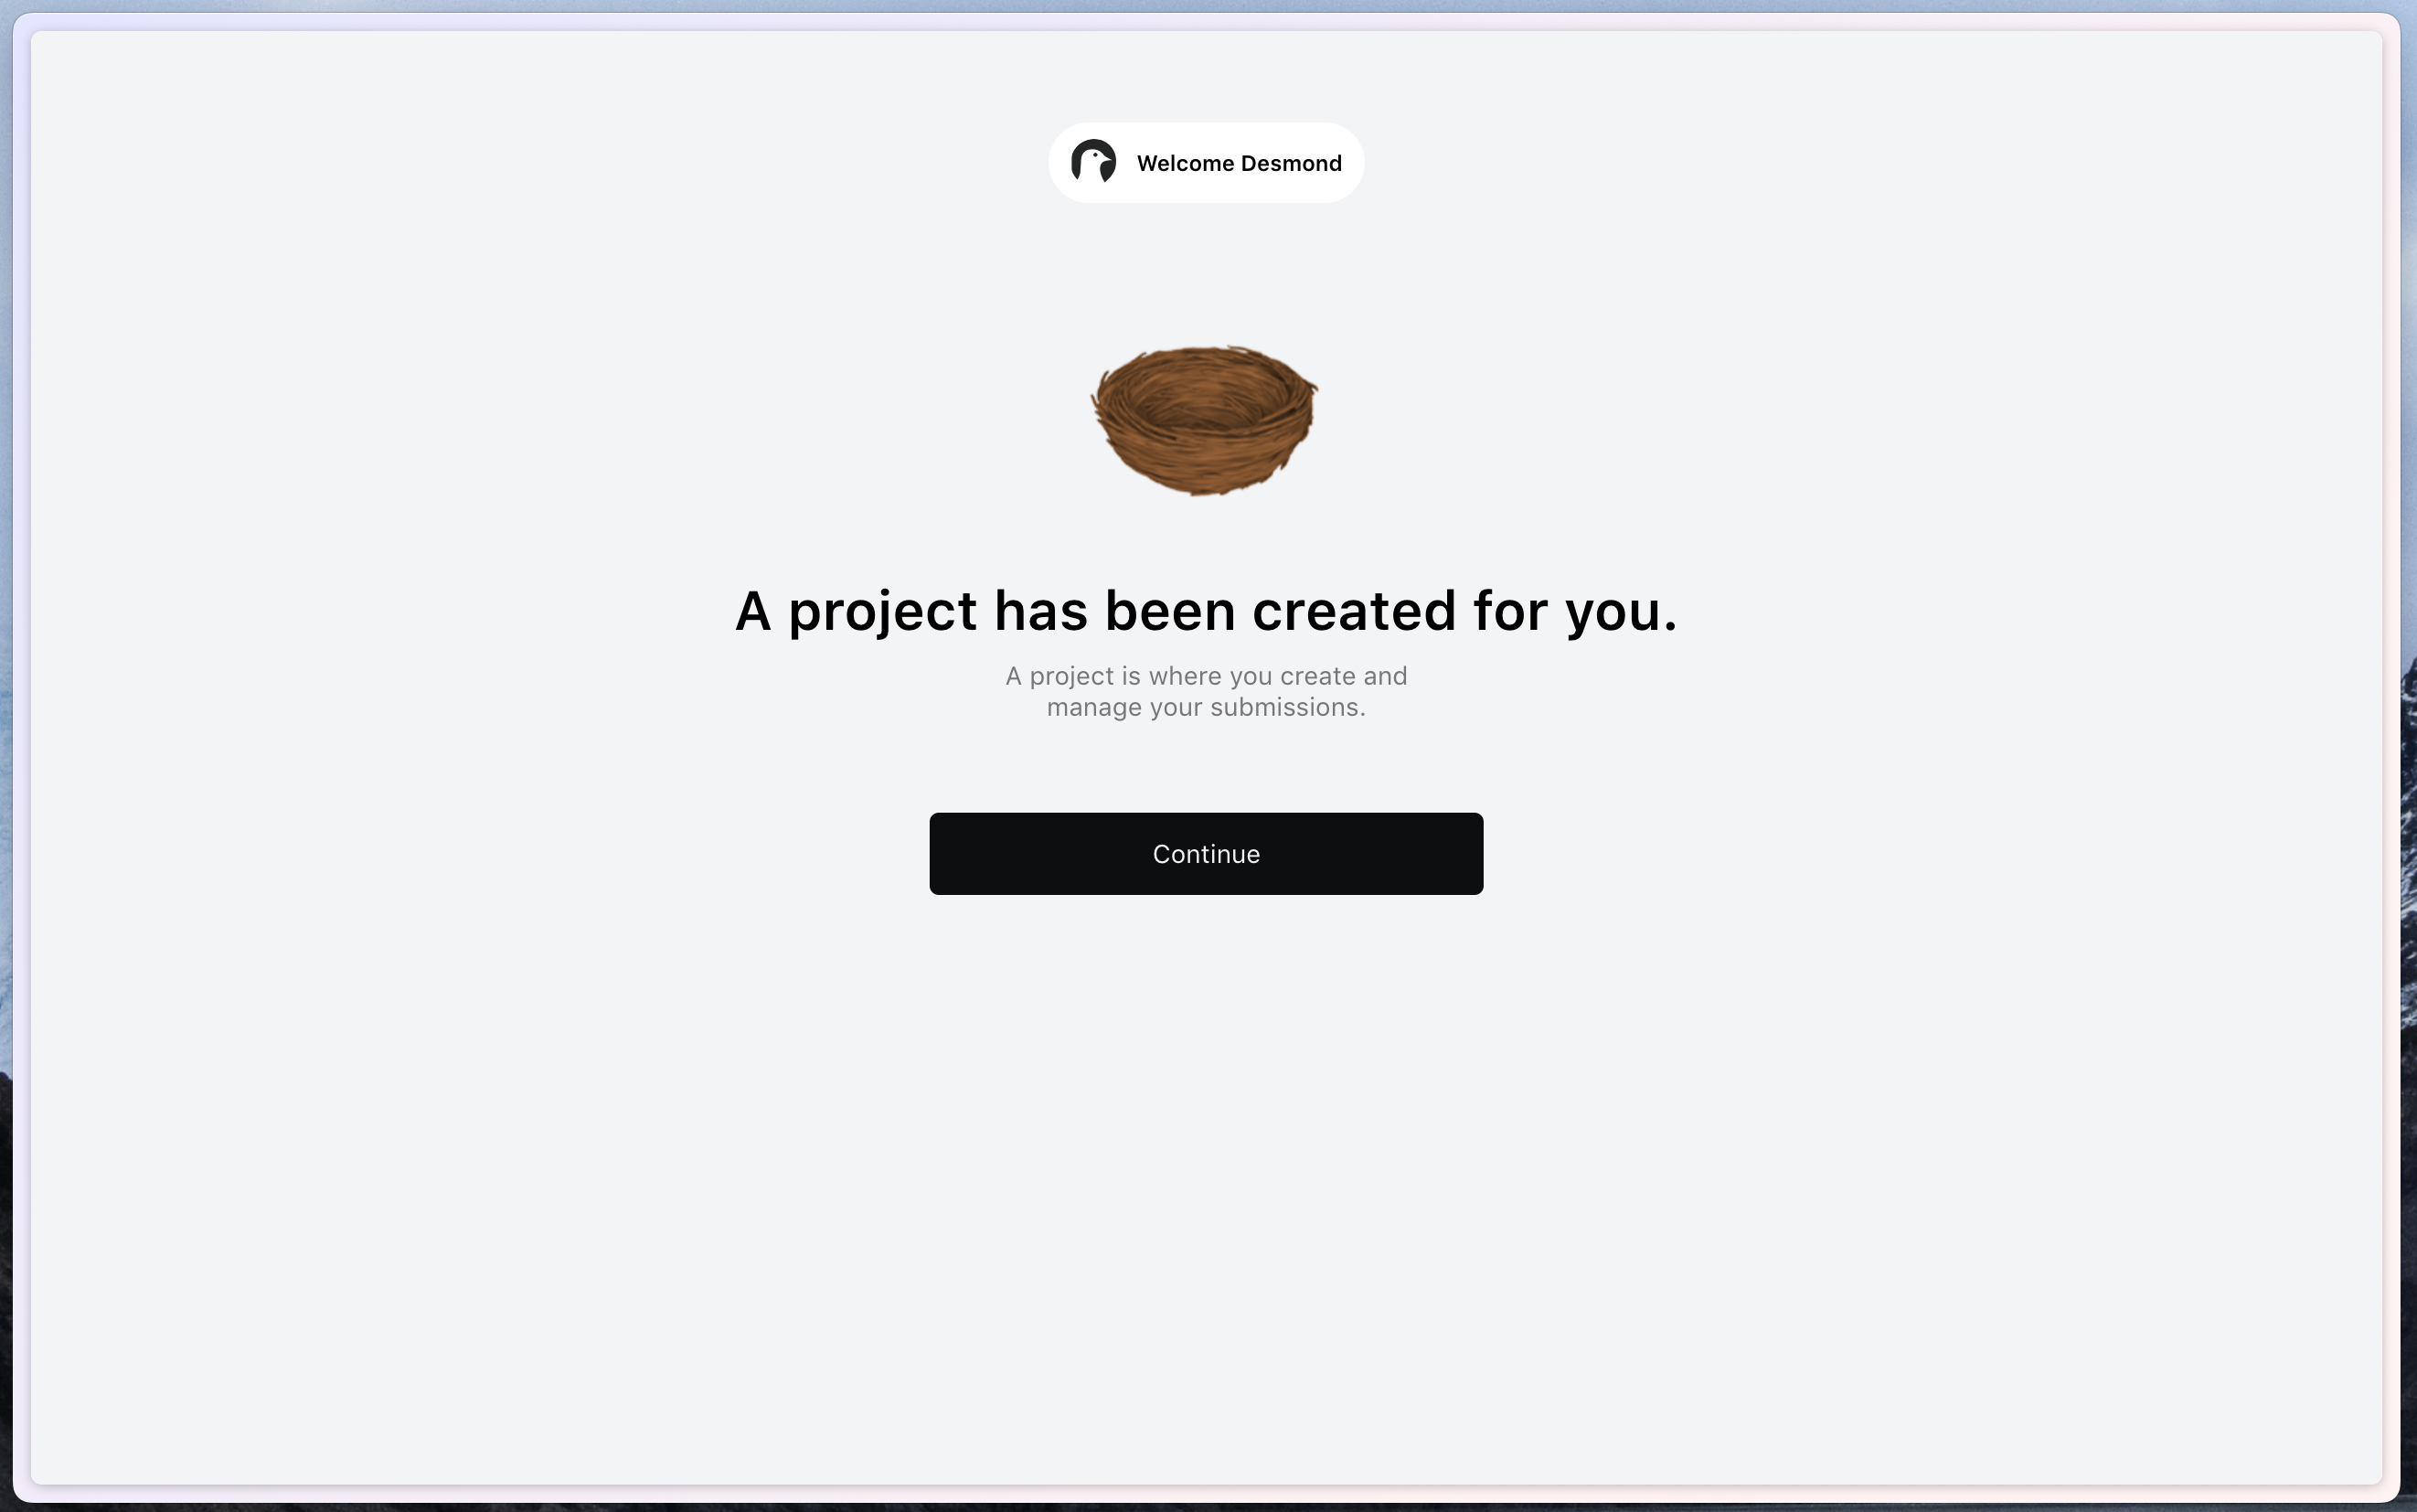
## Creating a new project
After signing up, you'll be redirected to the [project creation]("https://mailpigeon-front-git-staging-cr34t1ve.vercel.app/onboarding") page. Here you can create a new project and start collecting forms.
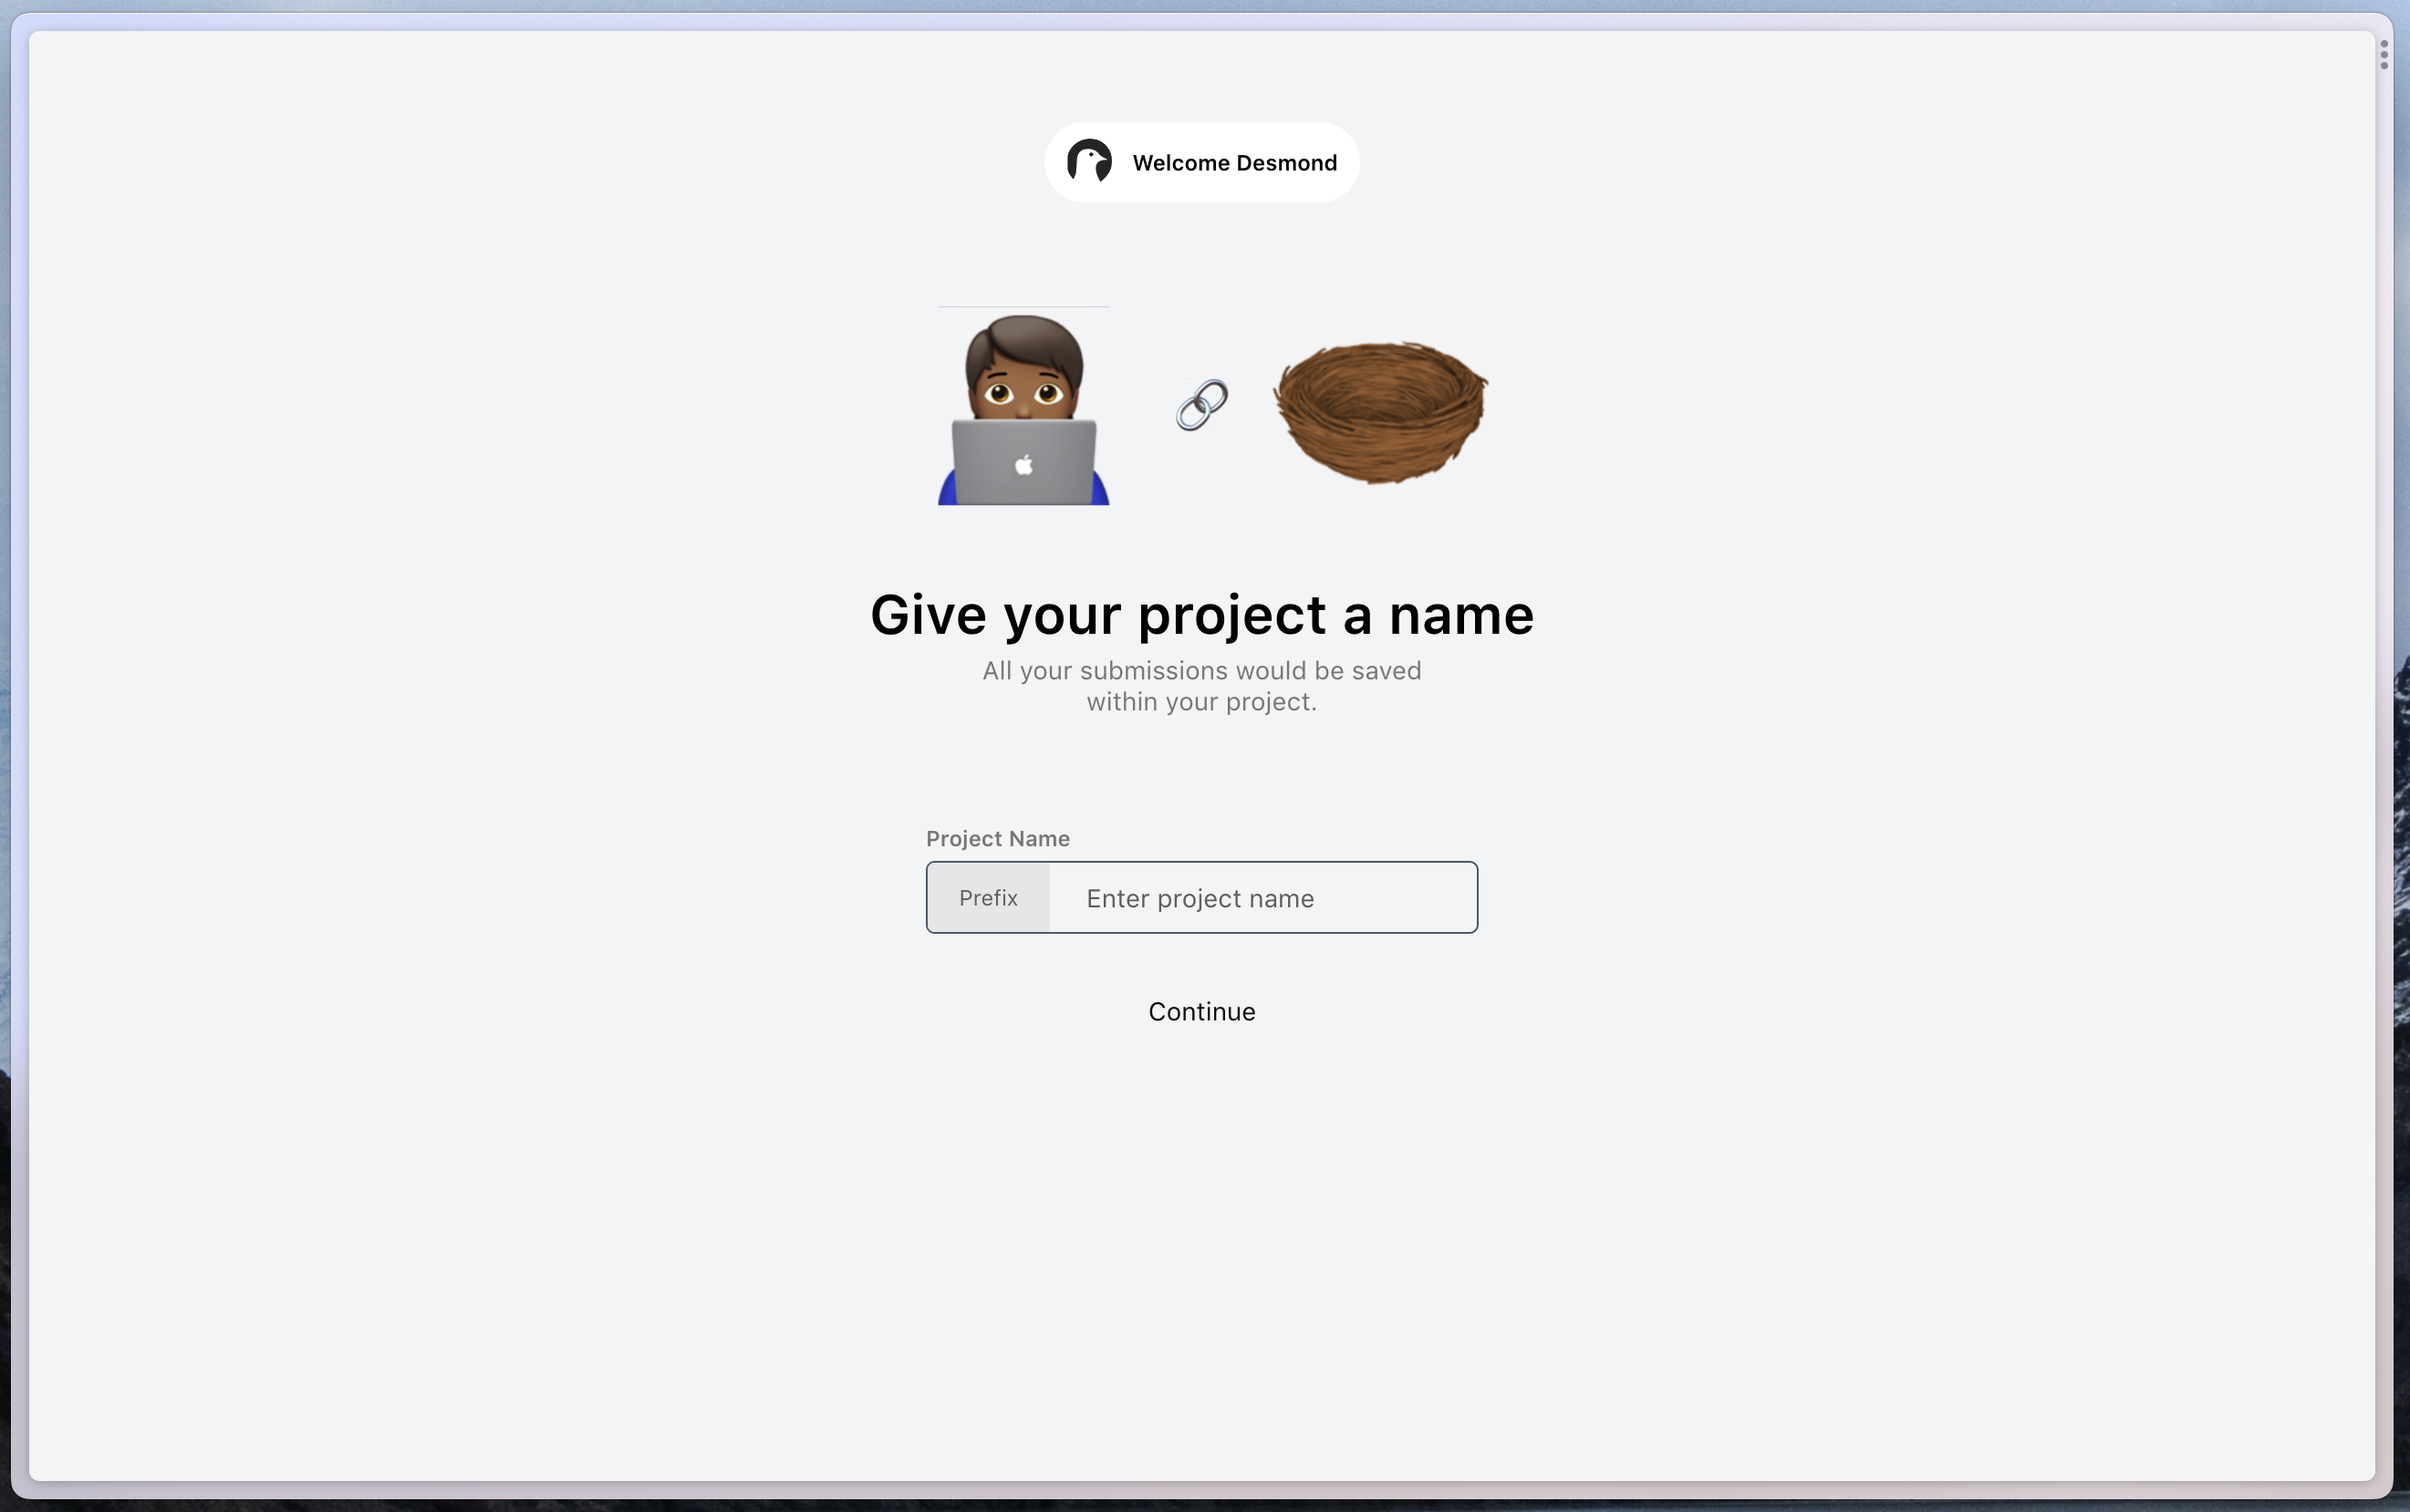
 ## Naming your project
The first step is to name your project. A prefix is generated for you, but you can change it to whatever you want. The prefix is used so that you can identify it at a glance.
## Naming your project
The first step is to name your project. A prefix is generated for you, but you can change it to whatever you want. The prefix is used so that you can identify it at a glance.
 ## Dashboard
After creating your project, you'll be redirected to the dashboard. Here you can set up your fields
and get your API Token. Your subdomain is also displayed here.
## Dashboard
After creating your project, you'll be redirected to the dashboard. Here you can set up your fields
and get your API Token. Your subdomain is also displayed here.
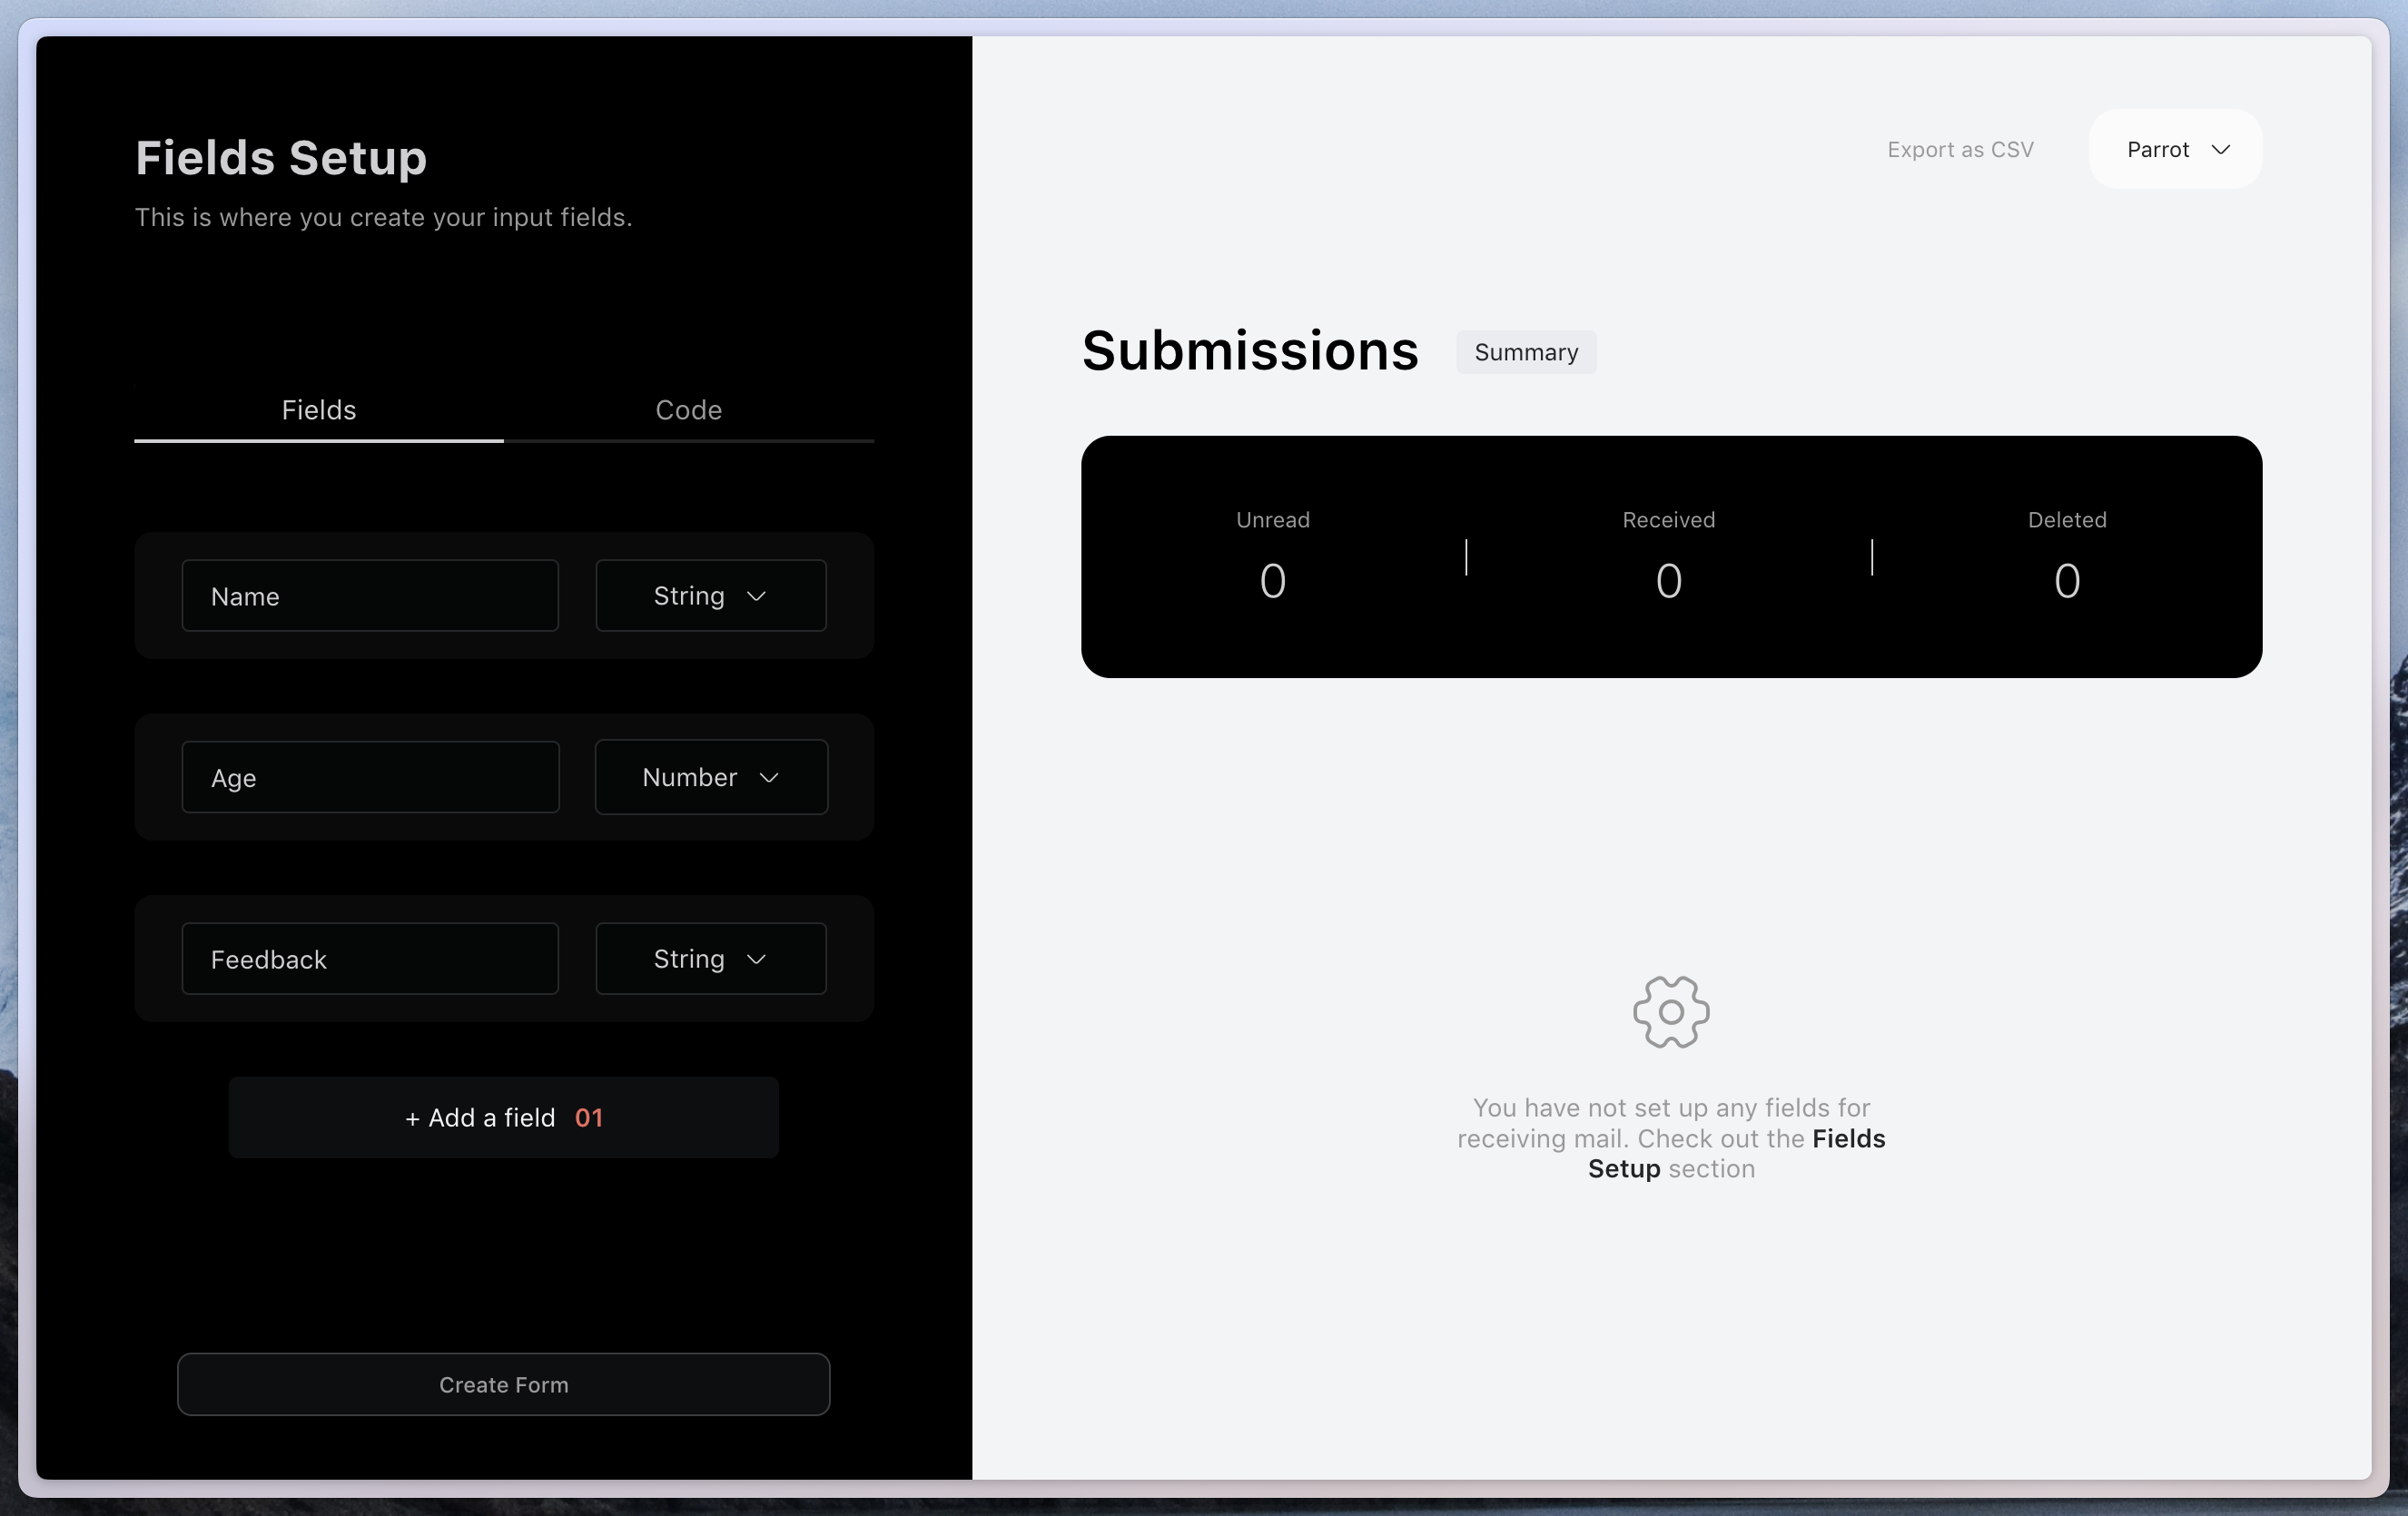
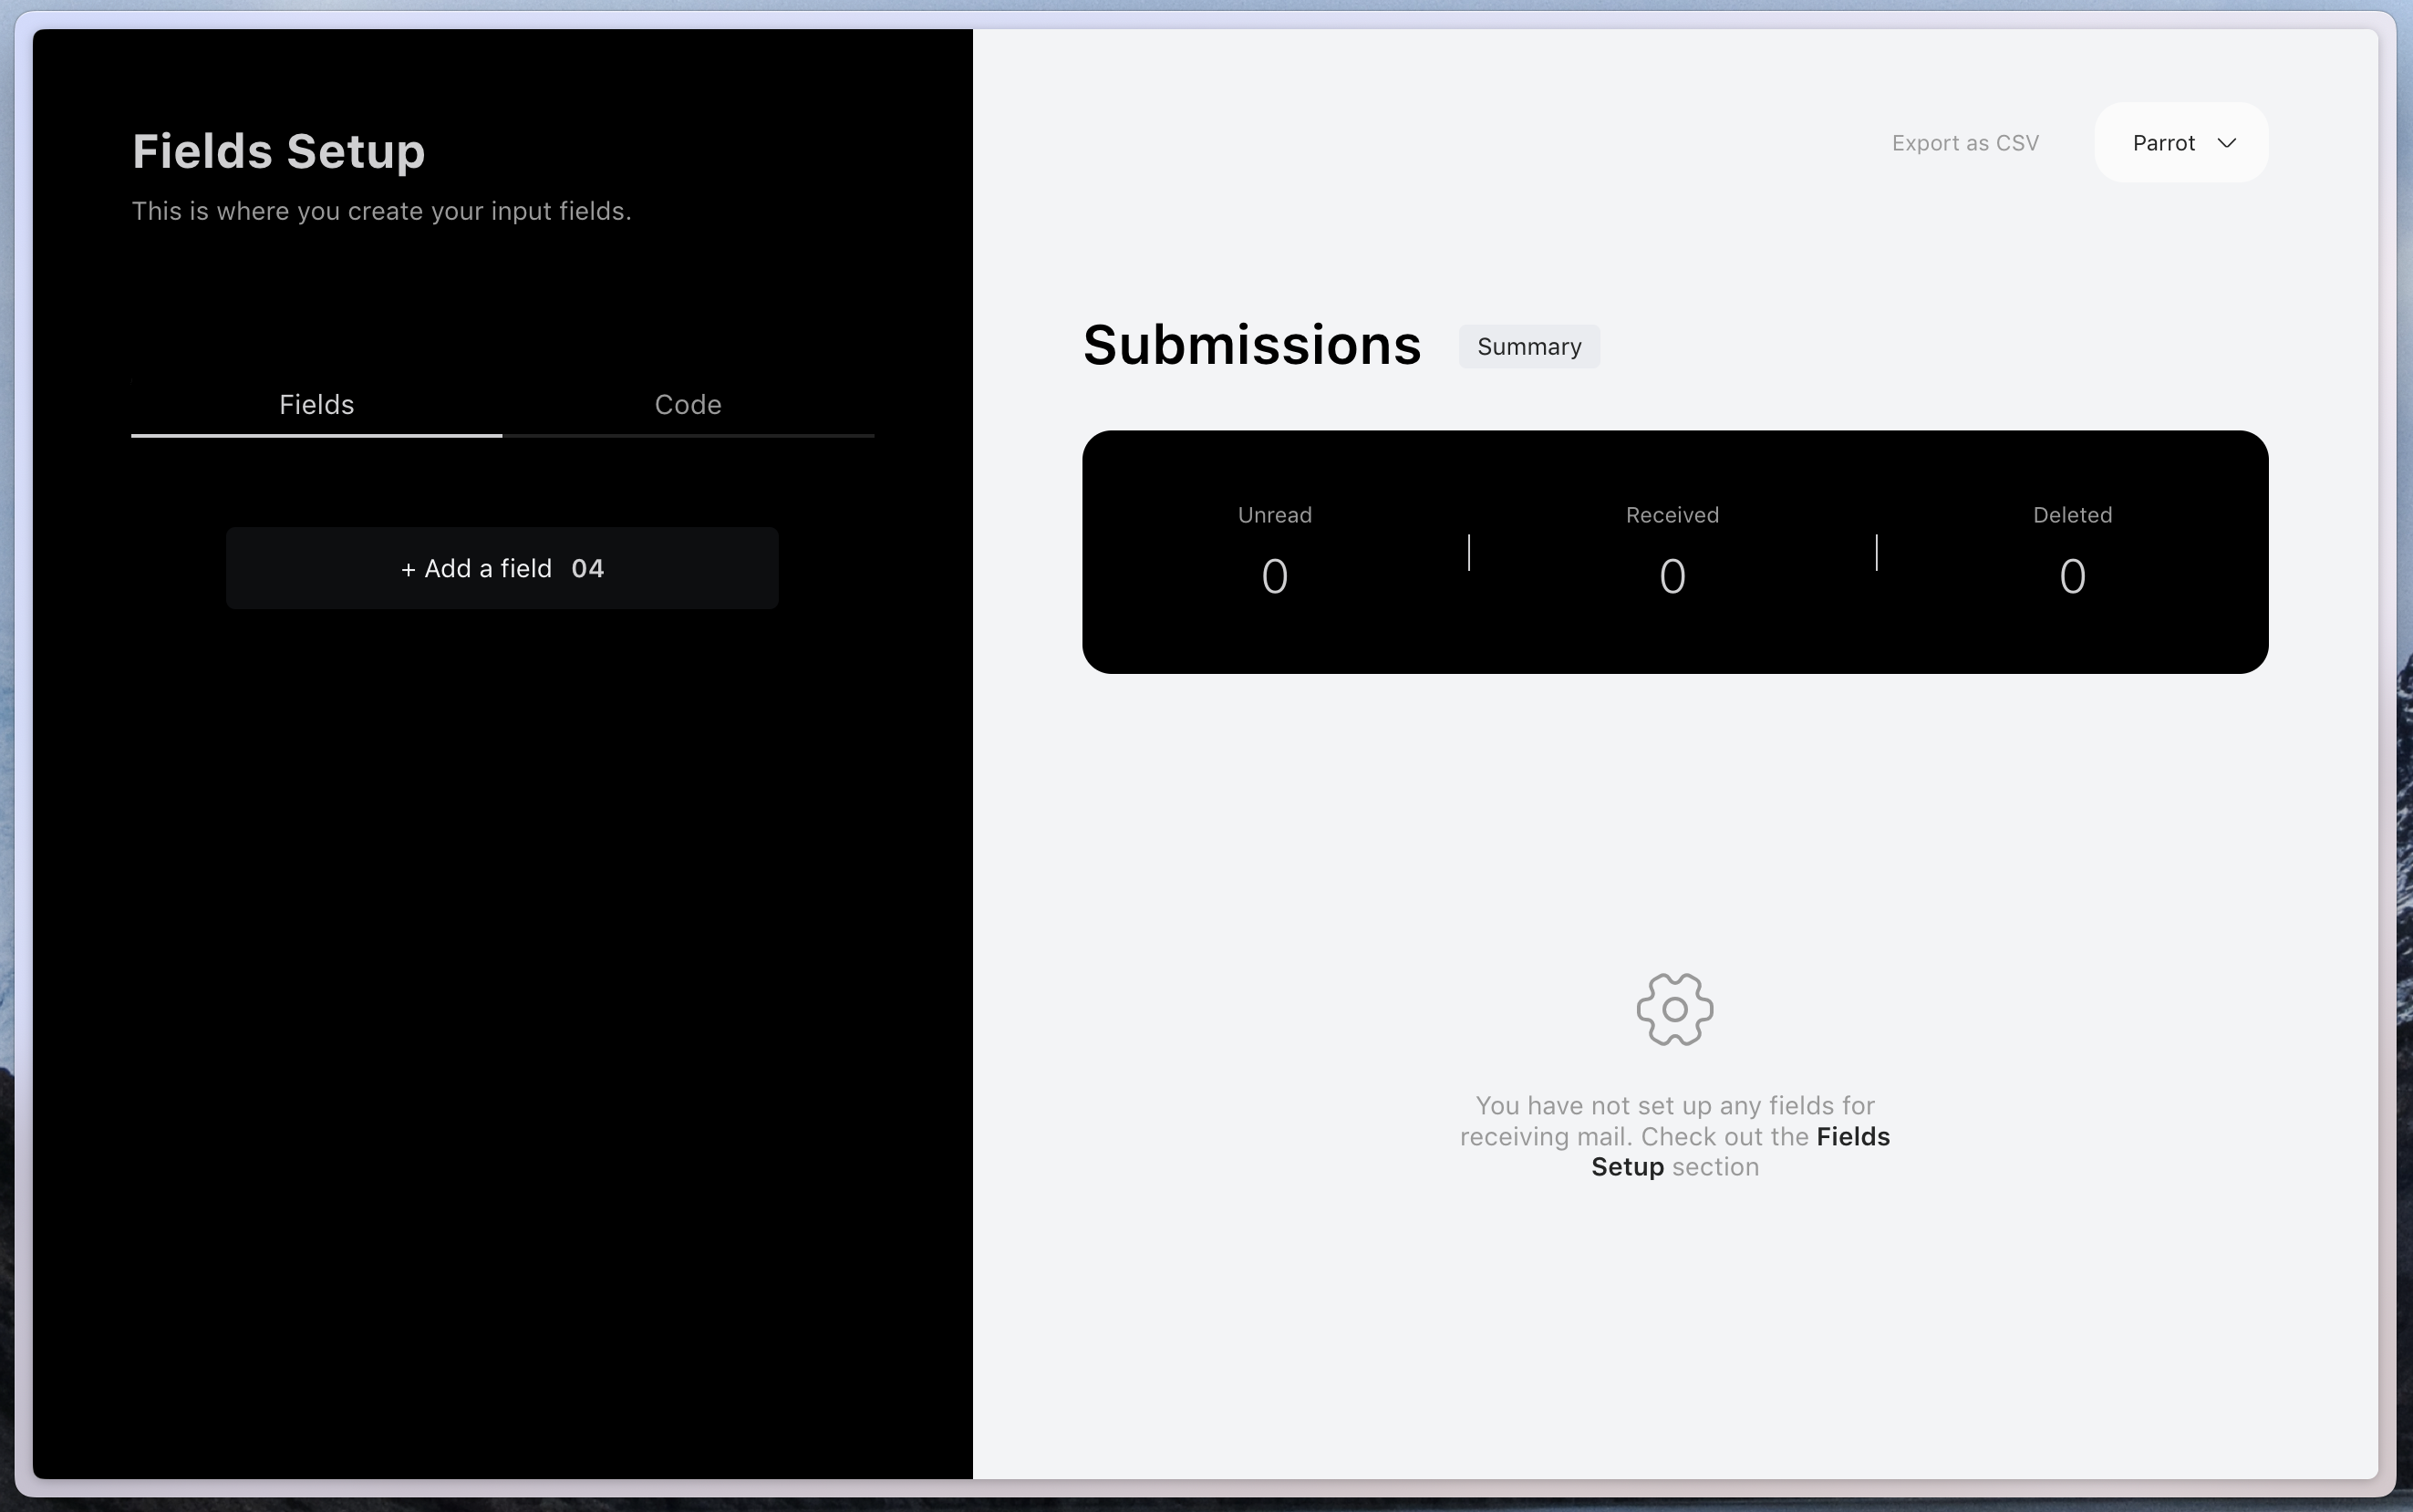 ## Setting up your fields
Head over to the fields tab and start adding your fields. The number of fields has been limited to 4 on a free account. You can upgrade to a paid plan to add more fields.
## Setting up your fields
Head over to the fields tab and start adding your fields. The number of fields has been limited to 4 on a free account. You can upgrade to a paid plan to add more fields.
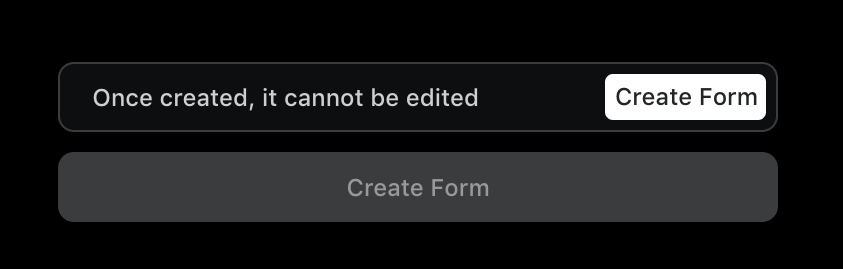
 ## Creating your first form
At the bottom of the dashboard, you'll find a button to create your first form. Click on it and confirm the action. Your form will be created and you can now start collecting forms.
## Creating your first form
At the bottom of the dashboard, you'll find a button to create your first form. Click on it and confirm the action. Your form will be created and you can now start collecting forms.
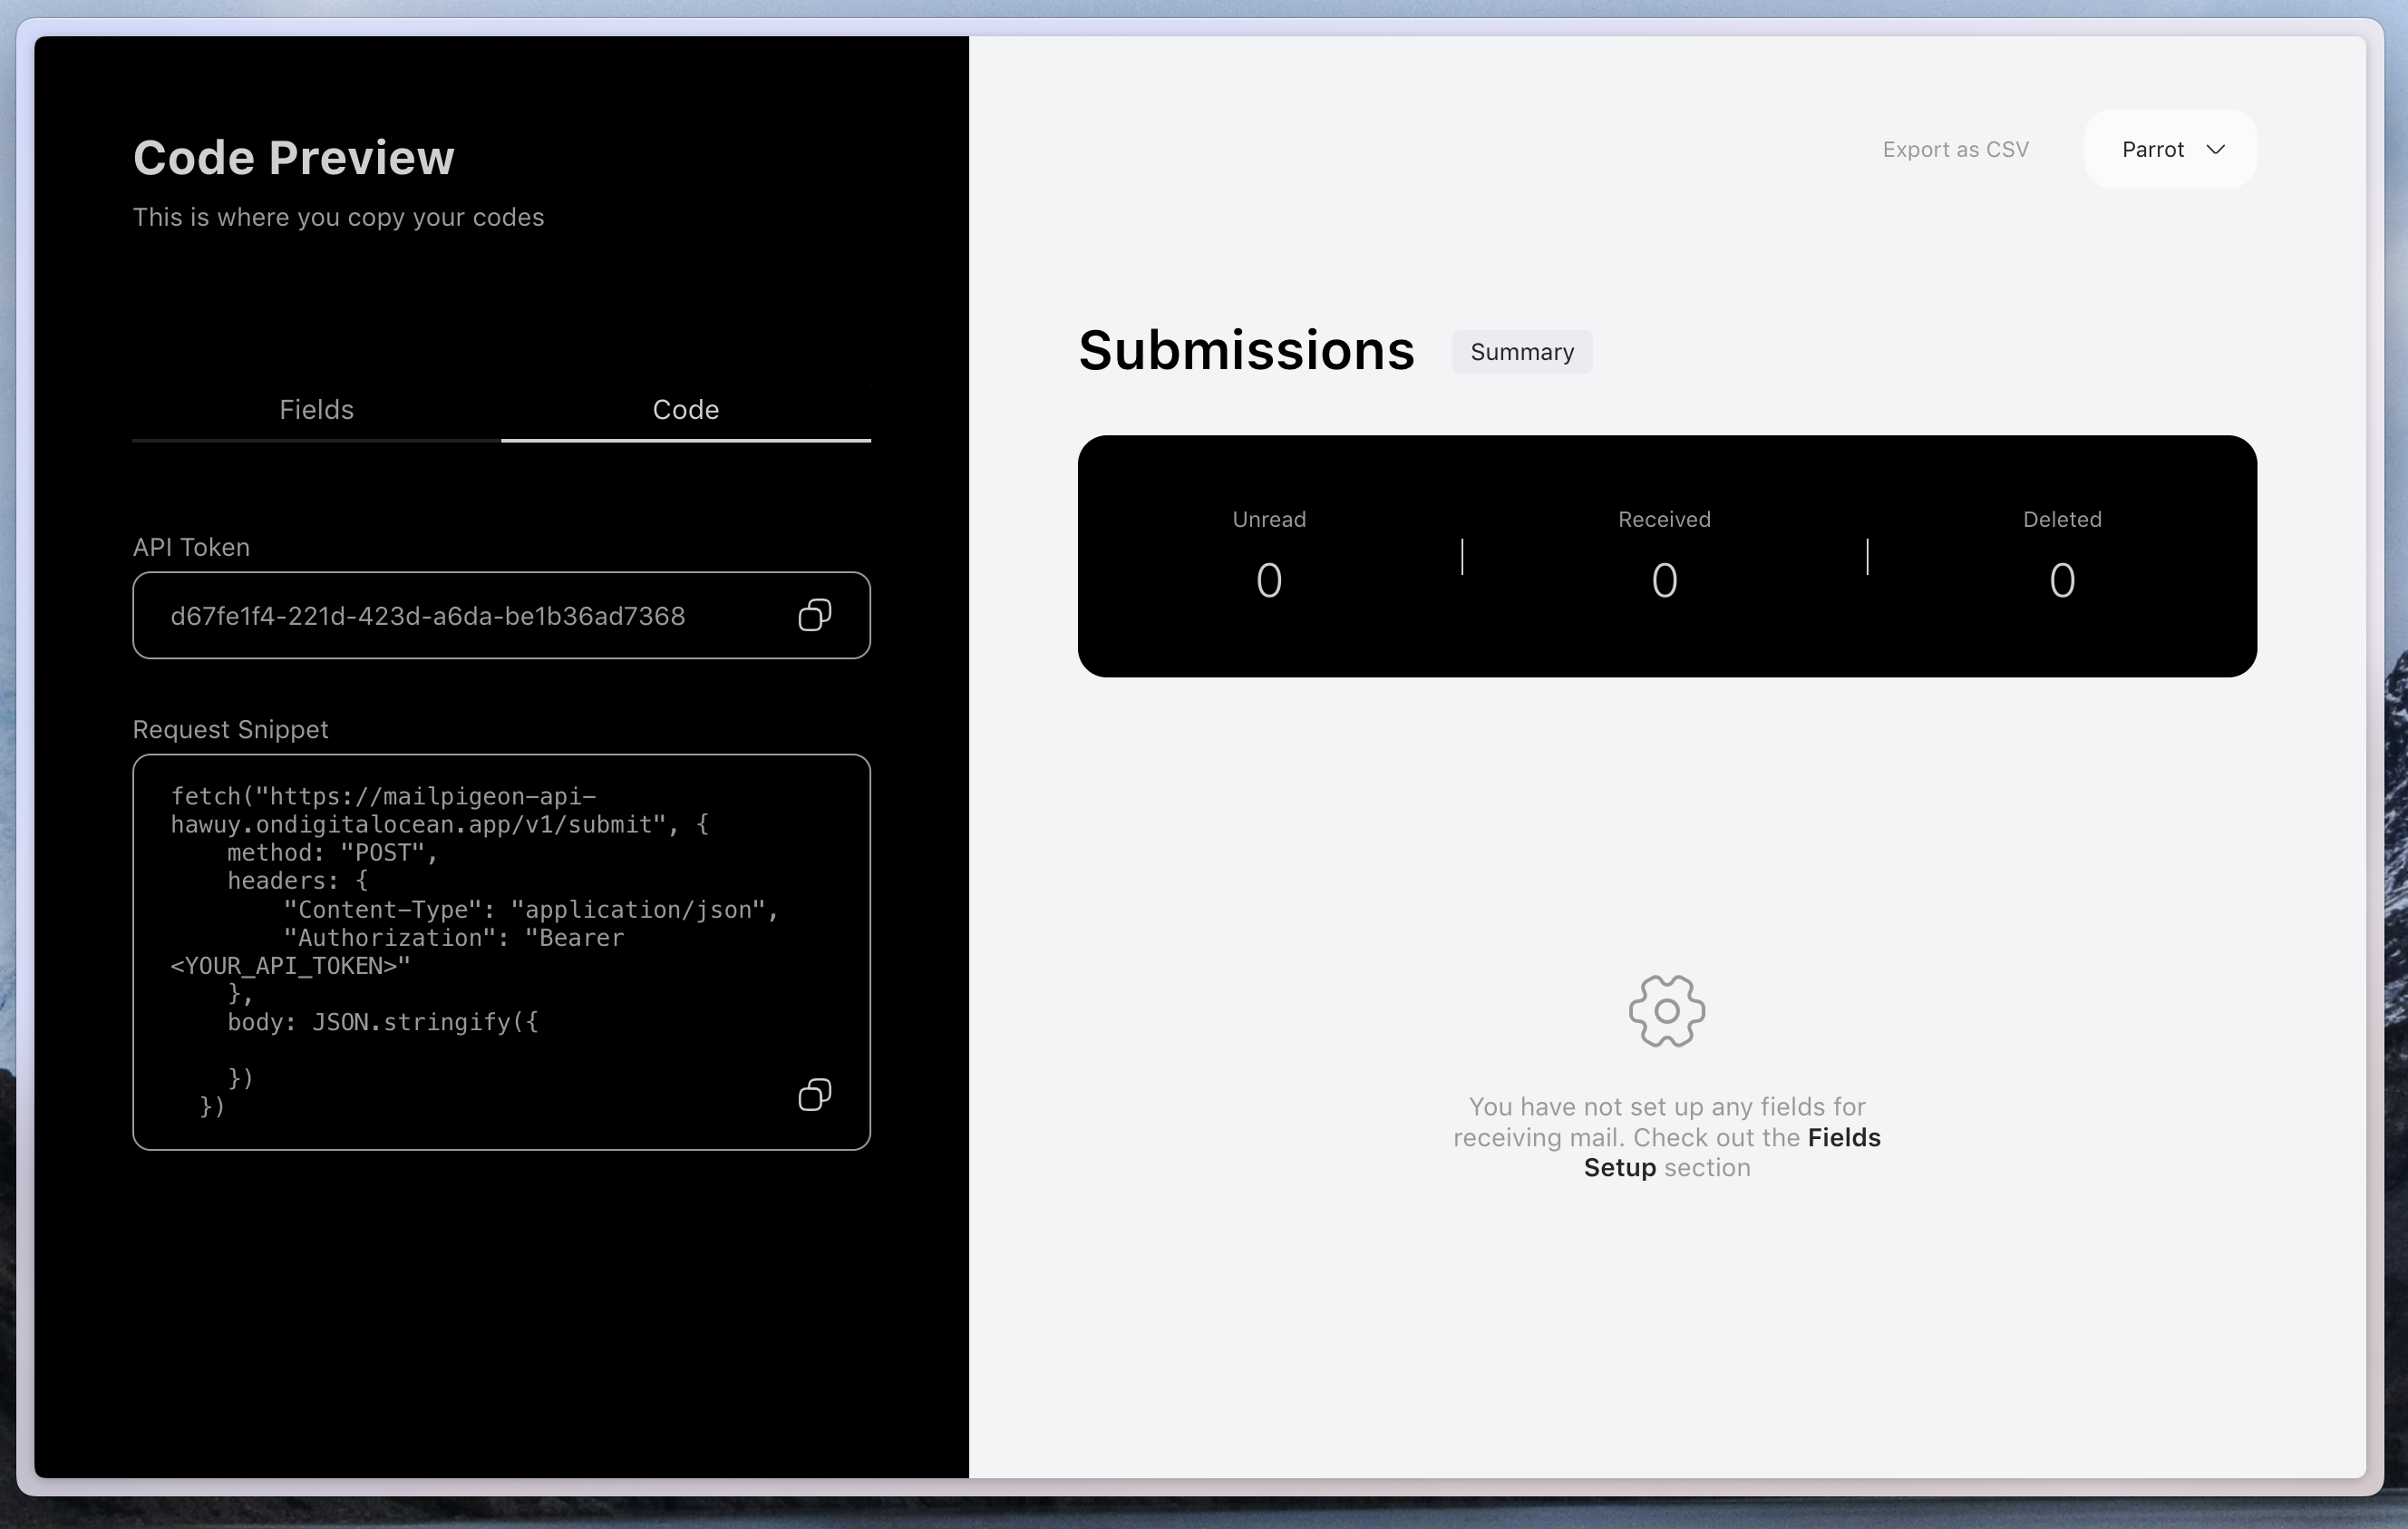
 ## Collecting submissions
On the left pane you can switch to the **Code** tab. Here you'll find the API token for your project. You can use this token to collect submissions from your forms. You can also find some sample code to get you started. All it takes is a simple http `POST` request to the endpoint.
## Collecting submissions
On the left pane you can switch to the **Code** tab. Here you'll find the API token for your project. You can use this token to collect submissions from your forms. You can also find some sample code to get you started. All it takes is a simple http `POST` request to the endpoint.
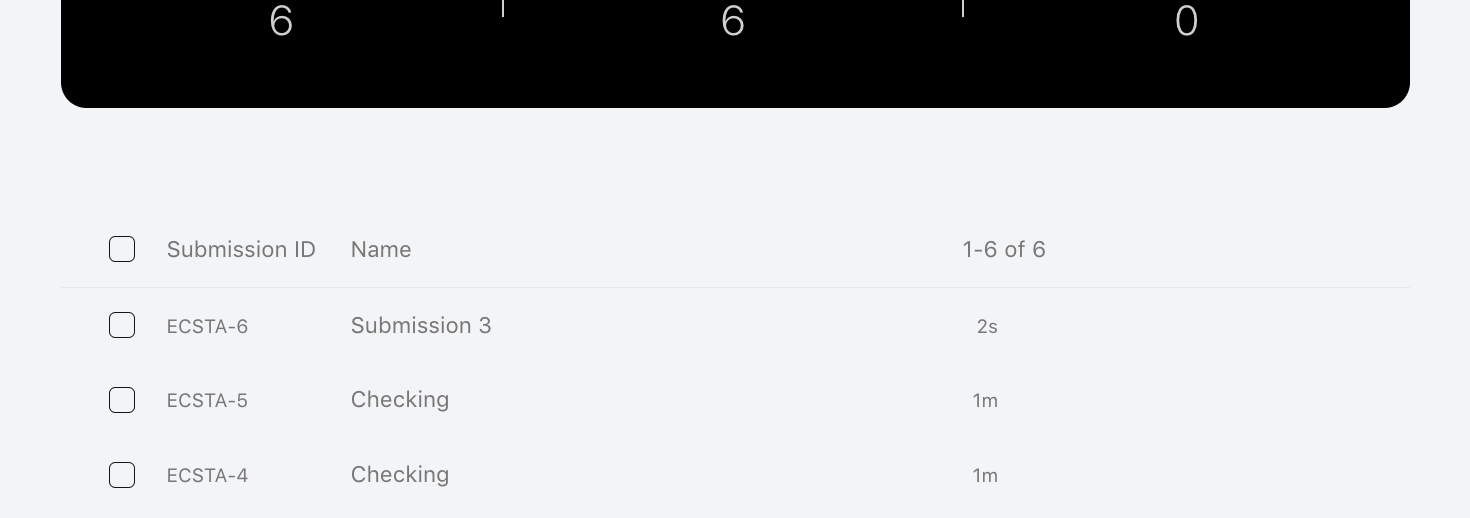
 ## Viewing submissions
Your submissions are displayed as a list on the dashboard. You can also view them in a table format.
You can also [download your submissions as a CSV file](/knowledge-base/exporting-csv).
## Viewing submissions
Your submissions are displayed as a list on the dashboard. You can also view them in a table format.
You can also [download your submissions as a CSV file](/knowledge-base/exporting-csv).